
She came to me holding a round rock with a teeny tiny hole in it. We can make a necklace, Mama!
We’ve painted rocks, we’ve made friends out of rocks, we balance stacks of rounded rocks in our gardens, and we collect the heart shaped rocks that have gained volume and presence all around our home, but we hadn’t yet made rock jewelry together.
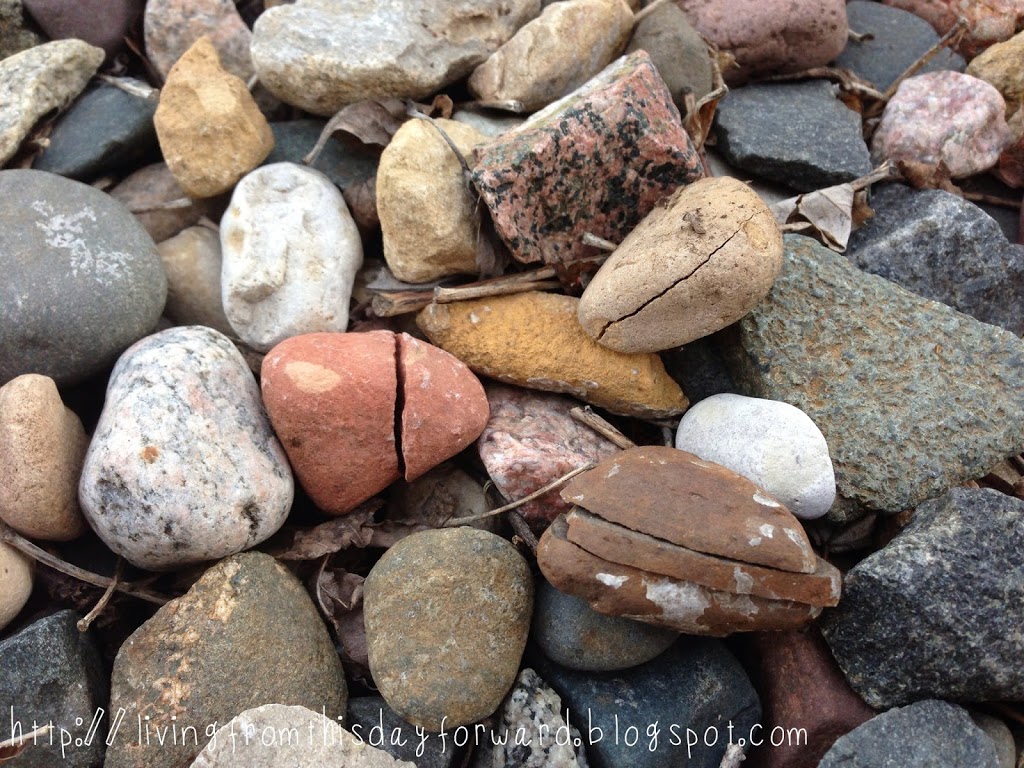
We scavenged through the rocks out front like we were searching for hidden diamonds – squatted deep down into them to take in all of their beauty. Our eyes carefully scanned the jagged multi-colored landscape until one hollered, “Pick me!”
We collected stones in a variety of shapes, sizes, and textures or hues. We found a few ‘gems’ along the way – crystal-y chiseled beauties that we’re sure are priceless treasures. Score.
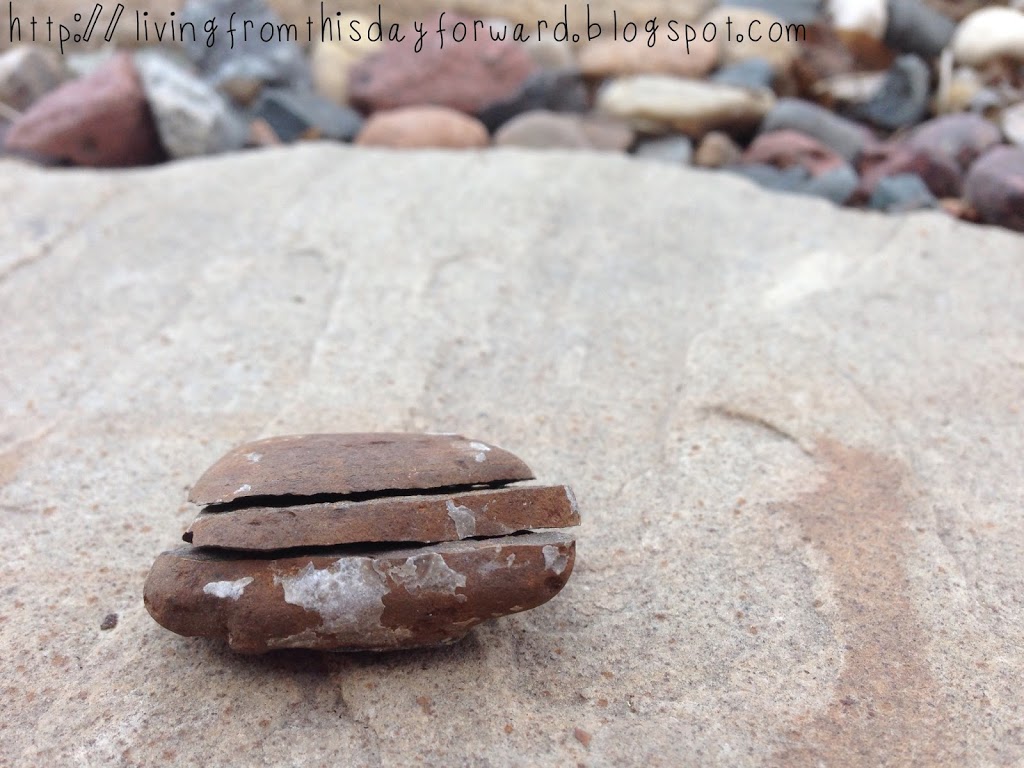
We came upon an interesting discovery during our adventure…cracked rocks. Nanni would call this a ‘bewonderment’. We named them puzzle rocks. They are ordinary looking rocks that are cracked in multiple places, yet ( sit ) in place in perfect form. The only evidence of cracking, sitting there in their natural environment, was the sliver-thin lines running down the face of the rocks. When we picked them up, they fell apart in pieces or slices – and could be fit back together again. How delicious!
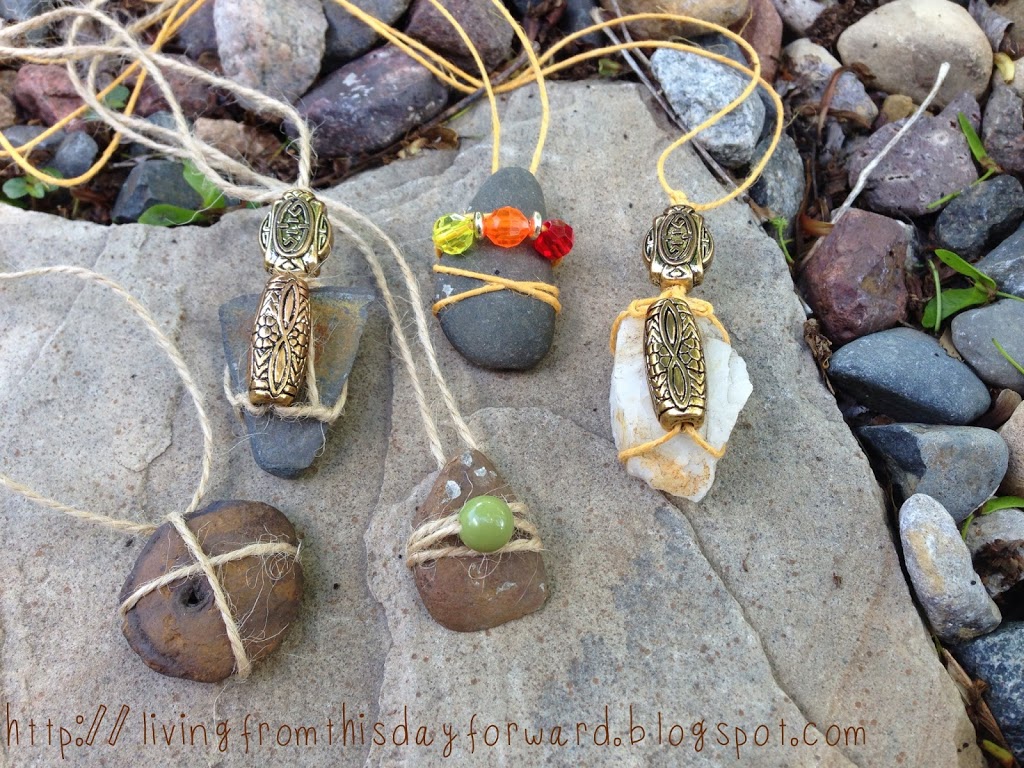
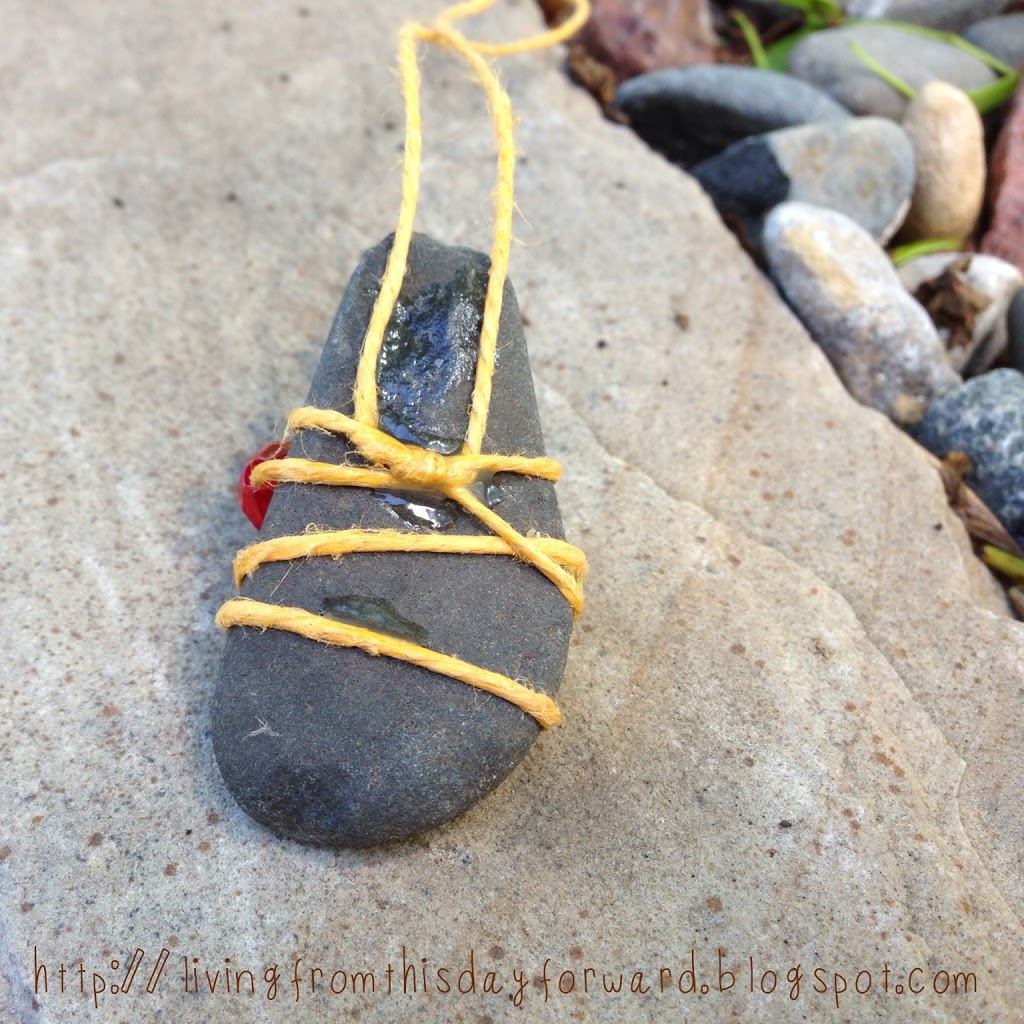
This rock is by far my favorite, and considering it was cracked in three pieces, it was perfect for a family necklace – think B.F.F. necklace for those related. Gush. *heart flutter*
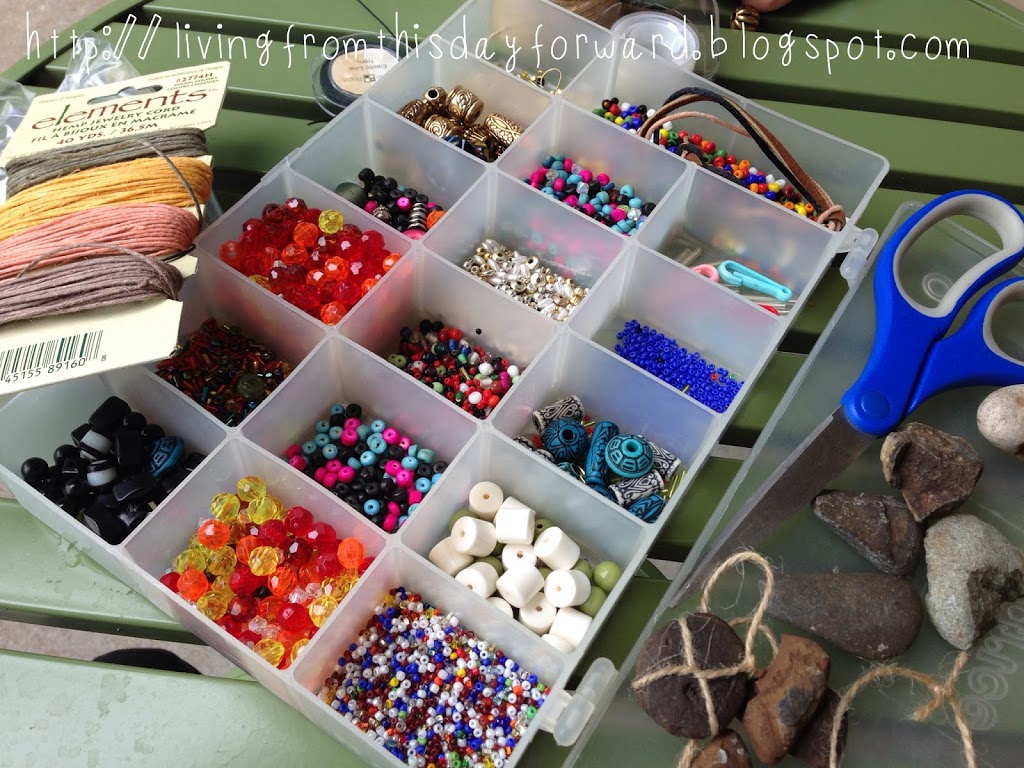
Once we had a good haul, I hit up the basement craft stash and emerged with beads, glue, and cord – we were set!
I’ll call this project: Nature Necklaces
Supplies:
- Rocks (for real)
- String/Cord (twine, leather, ribbon)
- Beads
- Craft Glue (good old Tacky!)
Most of this project involves experimentation – just play! Cut a piece of string/cord long enough to wrap around your head – and then add about 8 inches to accommodate wrapping and tying.
I started by eyeballing the combo of elements I wanted to include. If you are adding beads, I found it helpful to string them on the middle of the necklace cord and then experiment by wrapping it around the rock in various places. You can add some glue to the back of the rock to secure the string (see below). Knot the wrapping and then pull the two long ends of the string back up behind the knot so they lay flat against the rock. I added some drops of glue here to keep the rock from tipping forward off of your neck/chest. Measure that length needed to fit over your head and double knot the end.
Make a family necklace if you’re fortunate enough to find the cracked variety – or make matching friendship necklaces with similar rocks and embellishment. I plan on wearing mine this summer. I love the juxtaposition of bling against the organic rock base.
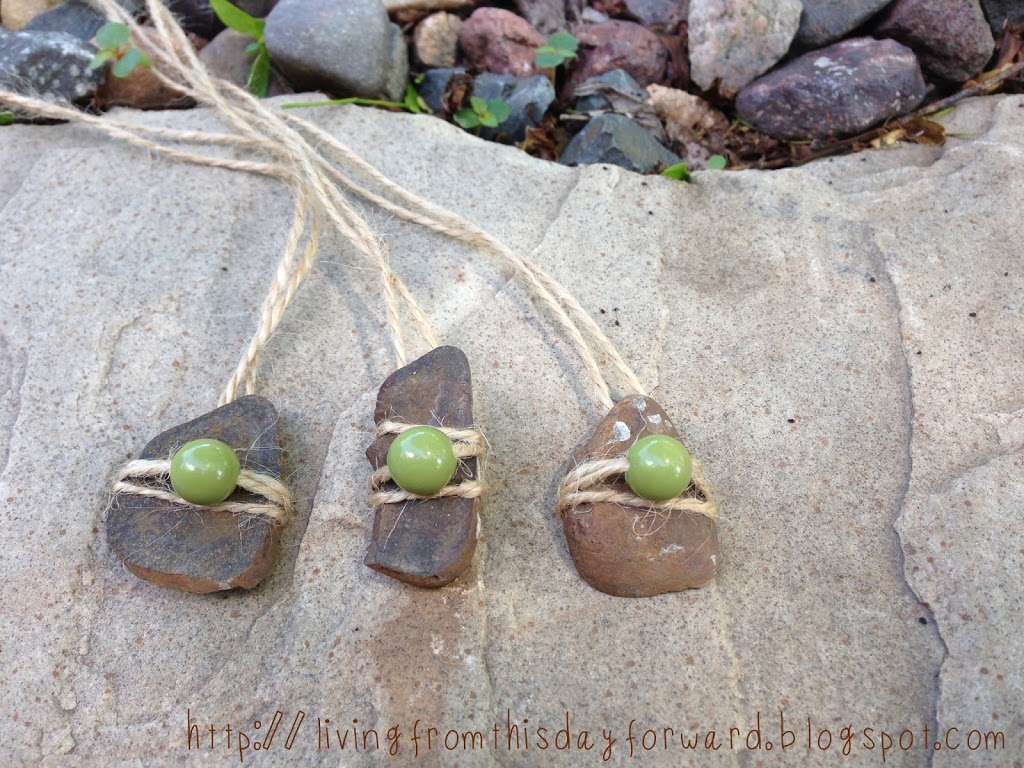
We think the necklaces look really special – like lost treasure that holds some hidden power… enjoy the adventure!
The only difference between stumbling blocks and stepping stones is the way you use them. ~American Proverb
Cheers!
J

 To share this badge on your website copy/paste the code below:
Absolutely BRILLIANT!!! love love love – Sj
We need a cousin necklace! XO
I think we are going on rock hunt!
Yes – have fun!
I love these!
So easy, the girls would love them!
I think I would love one of those rock necklaces…I really like silver!!! ROCK ON….Nanni
Cabin project!