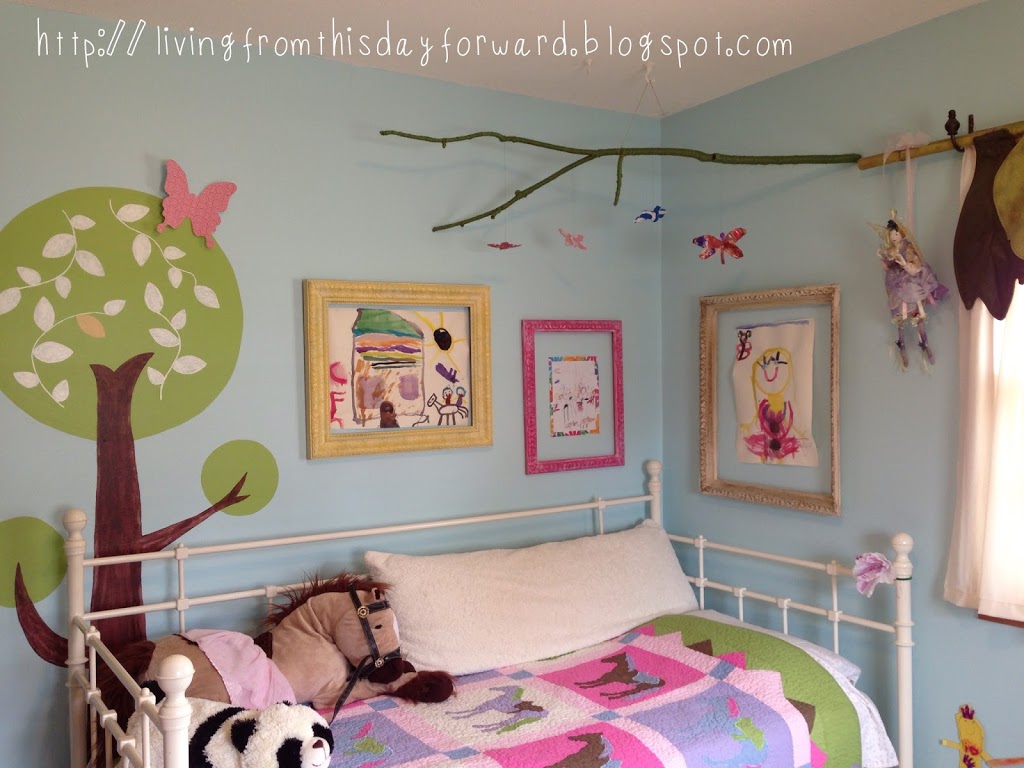
Still blending the natural with the brilliant around here. We’re on a roll, judging by the last couple of project posts. The Adventure Sticks served us well on our nature hike last week; locking our keys in the car at the nature park and one babe plunging into the river head first, not so much. After said event, I considered revising the sticks to include a hook-end for such incidents. On the upside, we were rescued, had a great hike, connected with Grampa Walt on a celebration day (address: heaven), and the kids witnessed the beauty and humor in one of life’s greatest lessons: Water Off A Duck’s Back…or your sister’s, whatevs.
Perhaps it is the lack of spring and extra dousing of snow we received in the past week that has left us craving the signs of new beginnings from nature. We decided to bring it indoors.
Alongside Little Lady’s Happiness Gallery we created earlier this year, this project found the perfect home. This little girl’s room screams whimsy, as does her soul.
I’ll call this project… Nature Mobile (see also variations below for home décor)
Supplies:
- Large interesting stick/branch
- Yarn / Twine String
- Tacky Glue
- Scissors
- Tinfoil
- Decorative Napkins or Magazine Clippings
- ModPodge (bonding/sealing medium)
- Small sponge brush
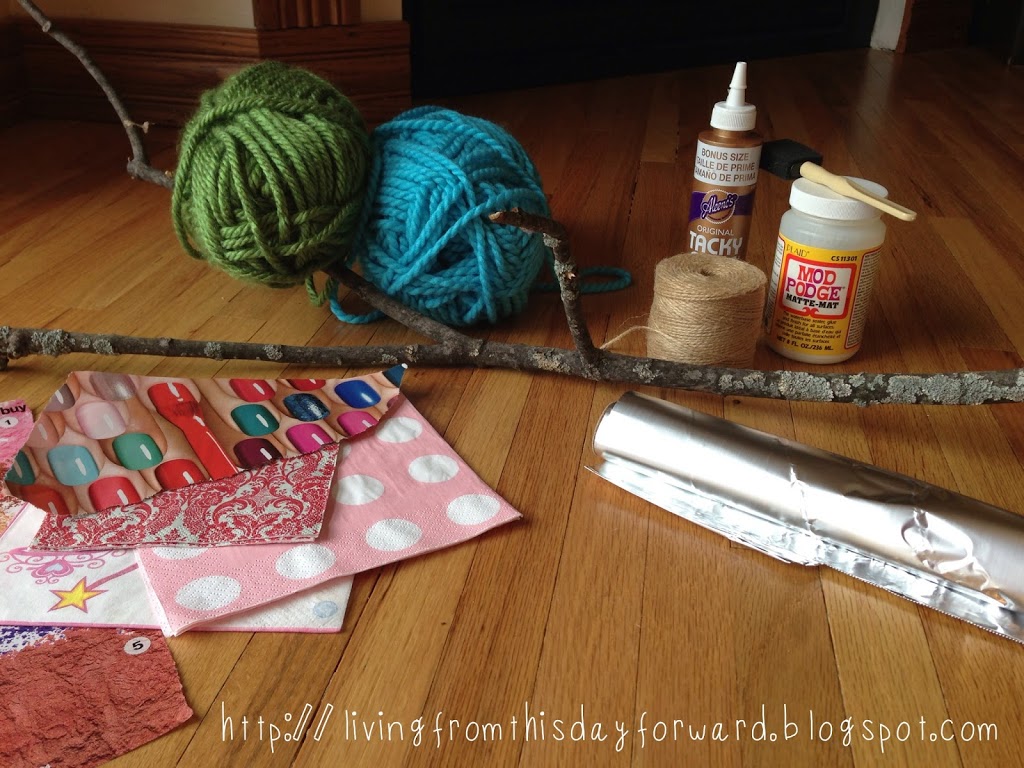
Search outside for an interesting looking stick. I chose one that was large, a little crooked, and offered a forked branch for interest and dimension. Our dangles will hang from the branch to create a mobile effect.
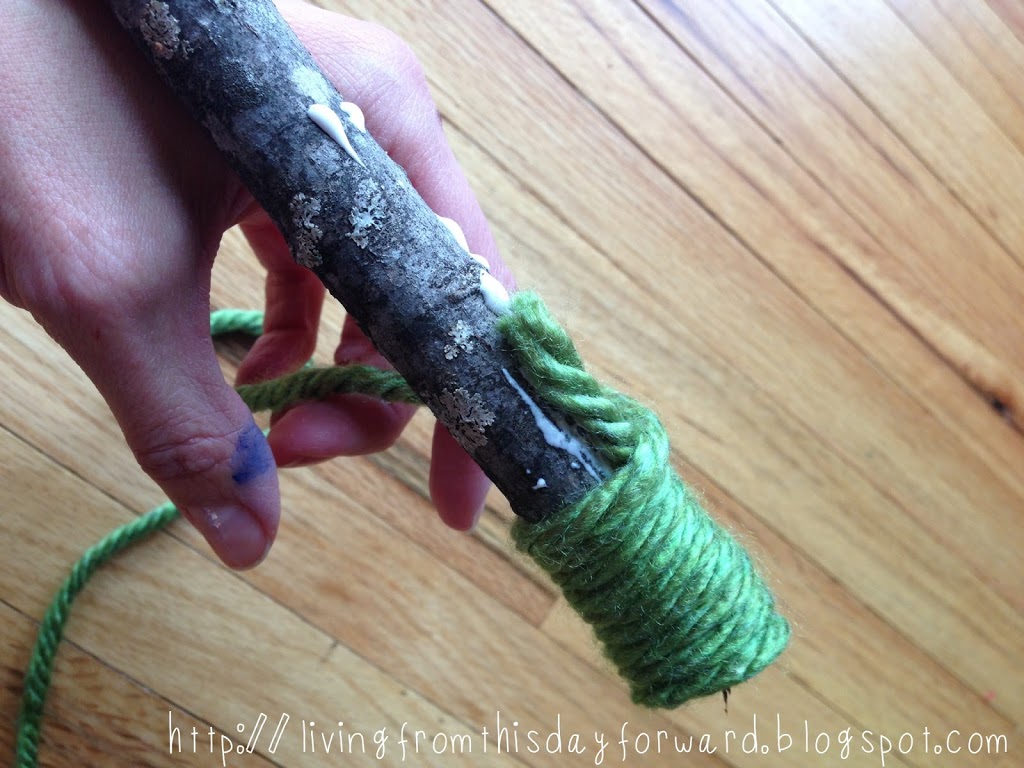
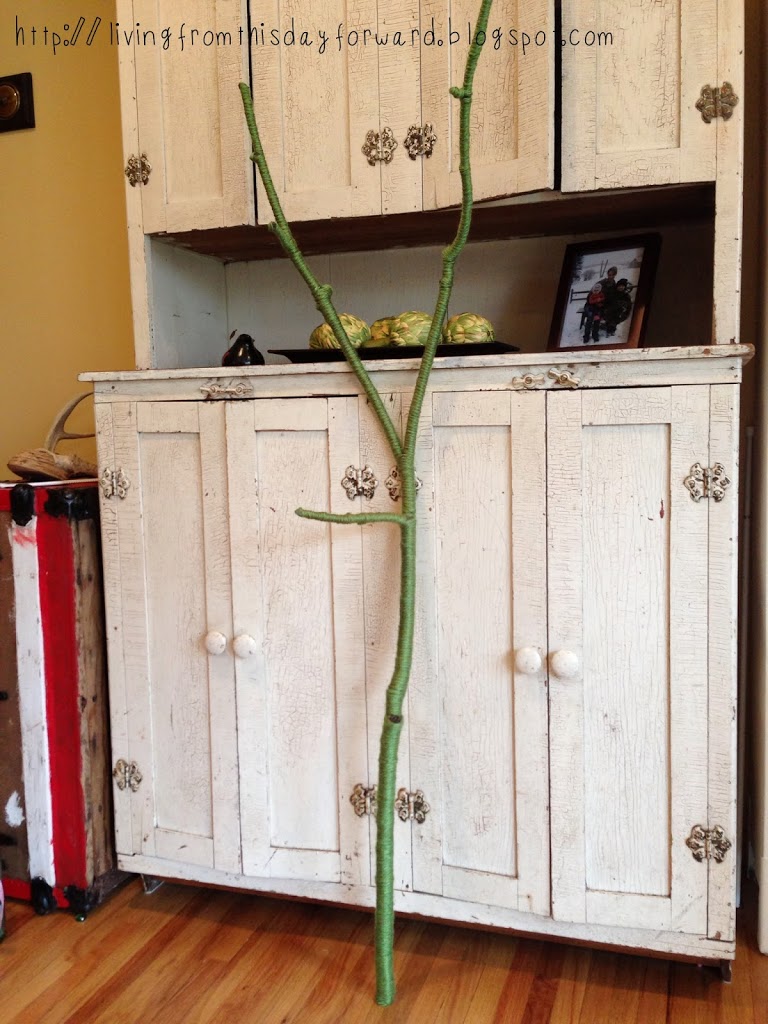
Choose a fave color of yarn to wrap the branch. For a finished look, add a thin line of glue at the end of the branch and tack a small tail of yarn in place. Begin to wrap the yarn over that tail and around the branch until fully covered. I like to use a light strip of glue down the whole length of the branch while wrapping, for added security.
The finished branch will look something like this…
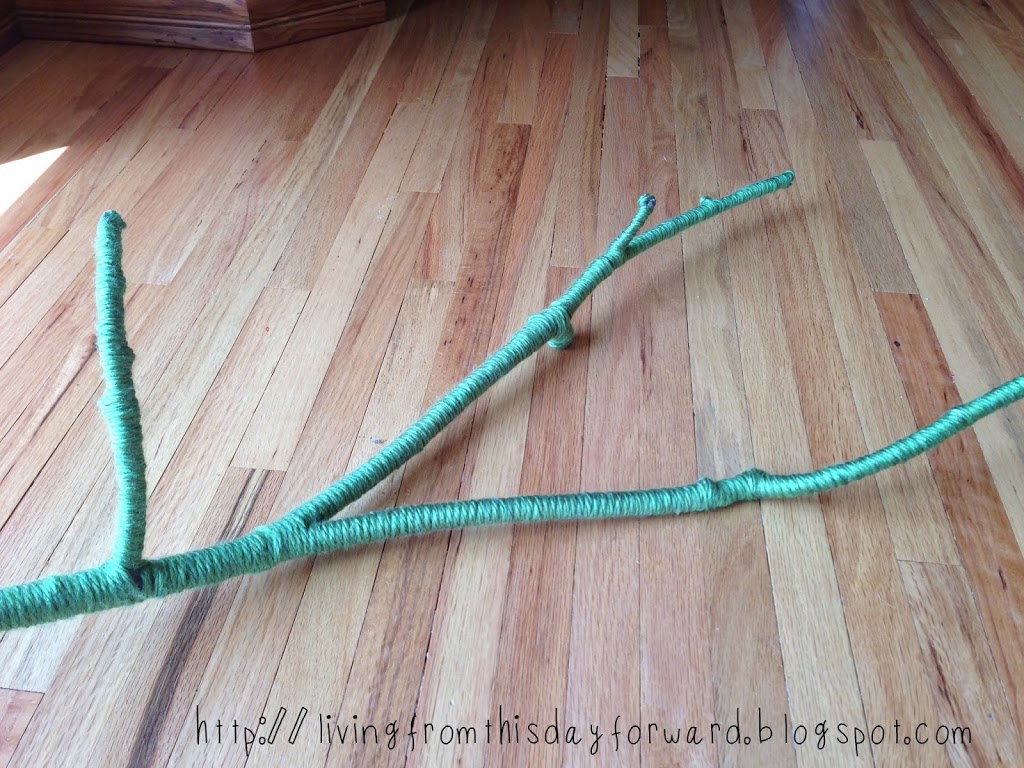
The branch alone would make a really cool conversation piece for your home. I’m going to wrap some and gather them in a bunch near my fireplace or bookshelf.
To make the Dangles:
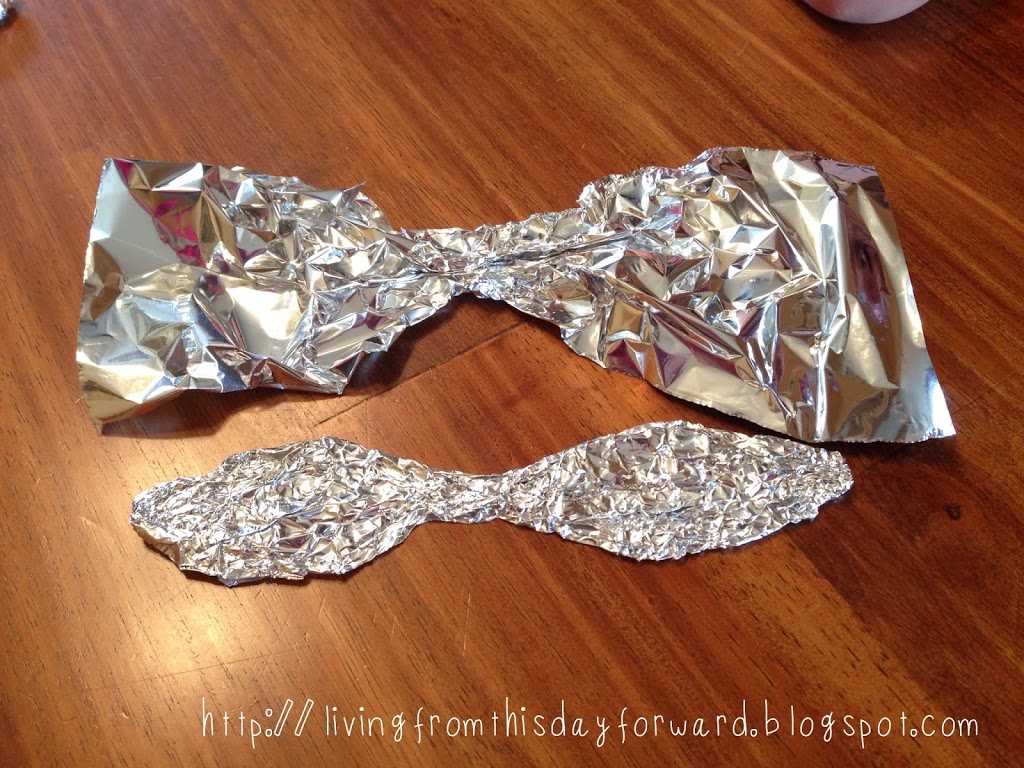
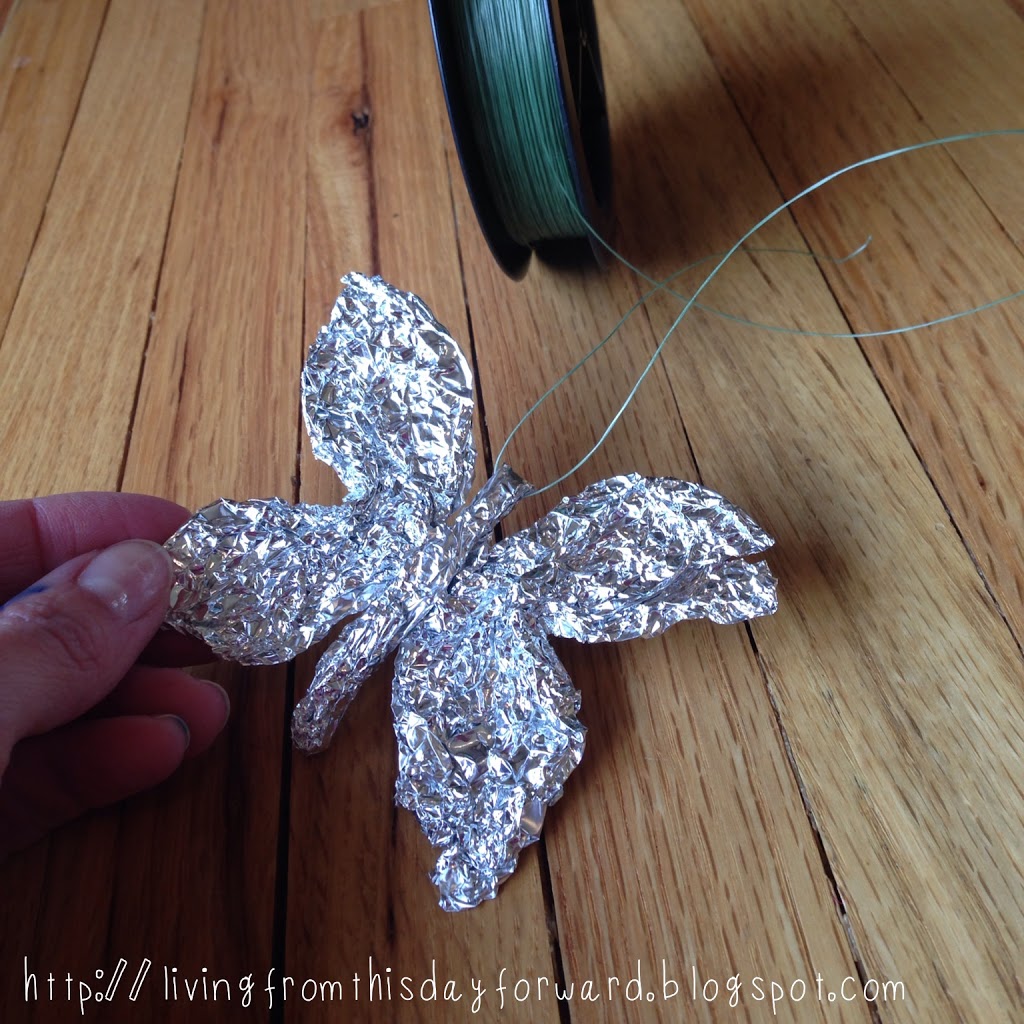
We played with tinfoil to create shapes (as the base) of different creatures including butterflies, dragonflies, and birds. It’s easy to mold/shape and remains lightweight. You really just have to let your imagination guide you as you manipulate the tinfoil – there is no formula!
For butterflies and dragonflies, I used one section of tinfoil for the wings, pinched it together in the middle, and shaped a wing on each side. Then I took a smaller scrap of foil and scrunched it into a long stick shape. I bent it in half and folded it around the center of the wings (where you pinched them together) to create the body of the butterfly. Add a bit of Tacky Glue to keep them bonded. Don’t get hung up on symmetry – this is art!
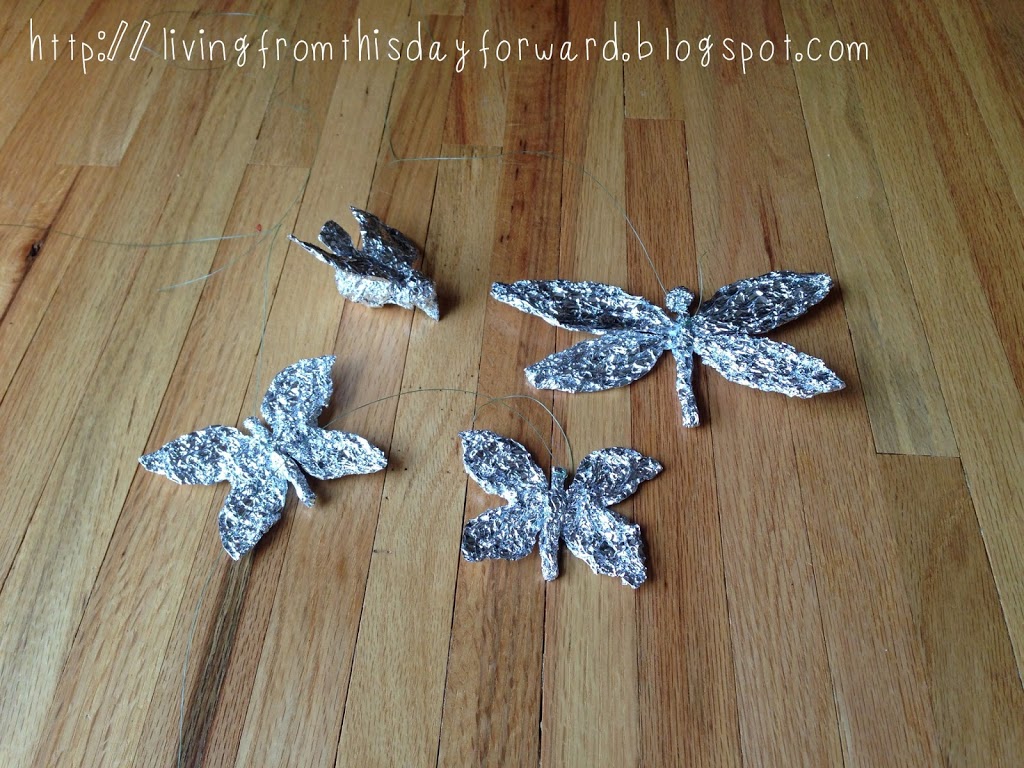
I can’t begin to describe exactly how we constructed the bird…again, just start at one end of the foil and begin to shape one end of the creature, like the head. Shape an extension for the beak and work your way down the body. If you need to add more foil just scrunch or pinch it together with your existing structure. You could also add a spot of glue to bond them. I created the body separate from the wings.
For the wings, I took a small sheet of foil and scrunched it together in the center, like I did for the butterfly wings, and pressed that spot onto the bird’s belly. Wrap the sides around the bird body until you reach the area in which the wings belong. Shape them flat from there and add a spot of glue.
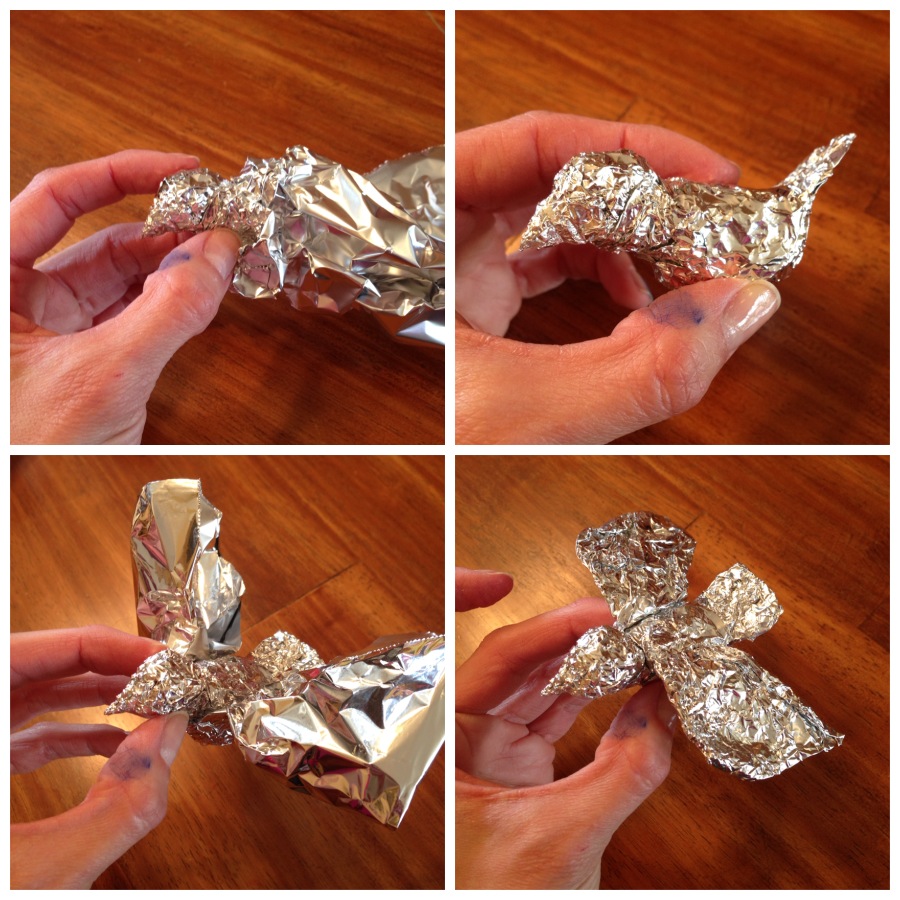
That’s a whole lot of words to explain: play with the foil, make shapes. Understand? There is no science to this.
Stringing Your Creations:
While you are adding the stick body to the butterfly or other creature, slip the end of a string in before pinching it tightly shut. Tie a double knot at that point for security and then cut the string, leaving a long tail for securing to the branch with proper dangle.
Decorating Your Creatures:
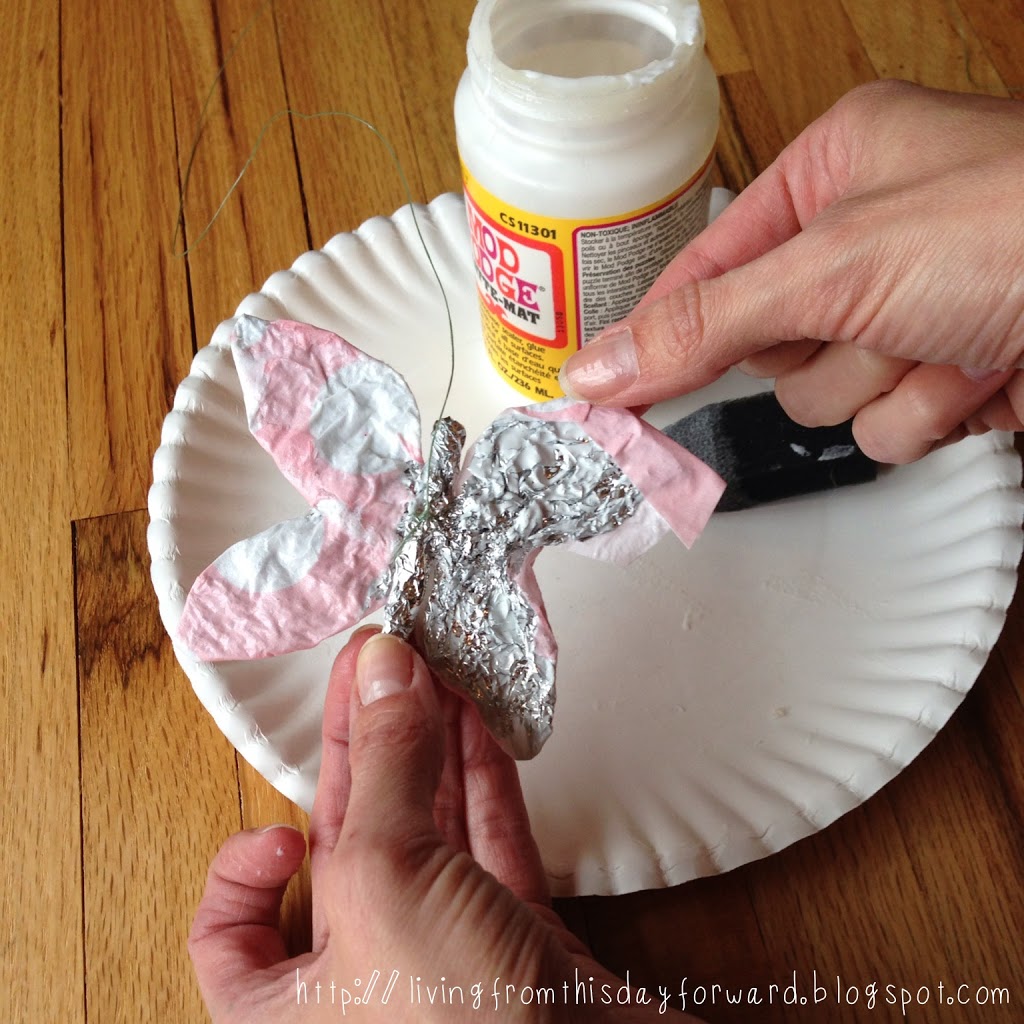
I used leftover party napkins with interesting patterns or color, as well as colorful clippings from magazines, to cover the tinfoil base of your creations. Crepe paper, think party streamers, works well too.Work in small sections by brushing a little ModPodge onto the object and pressing on little pieces of print until covered. Add one final light coat of ModPodge when finished, to seal it in place. Let it dry. It can get a little messy (which is ok, and fun – try it!) so place wax paper or a coated paper plate under your work.
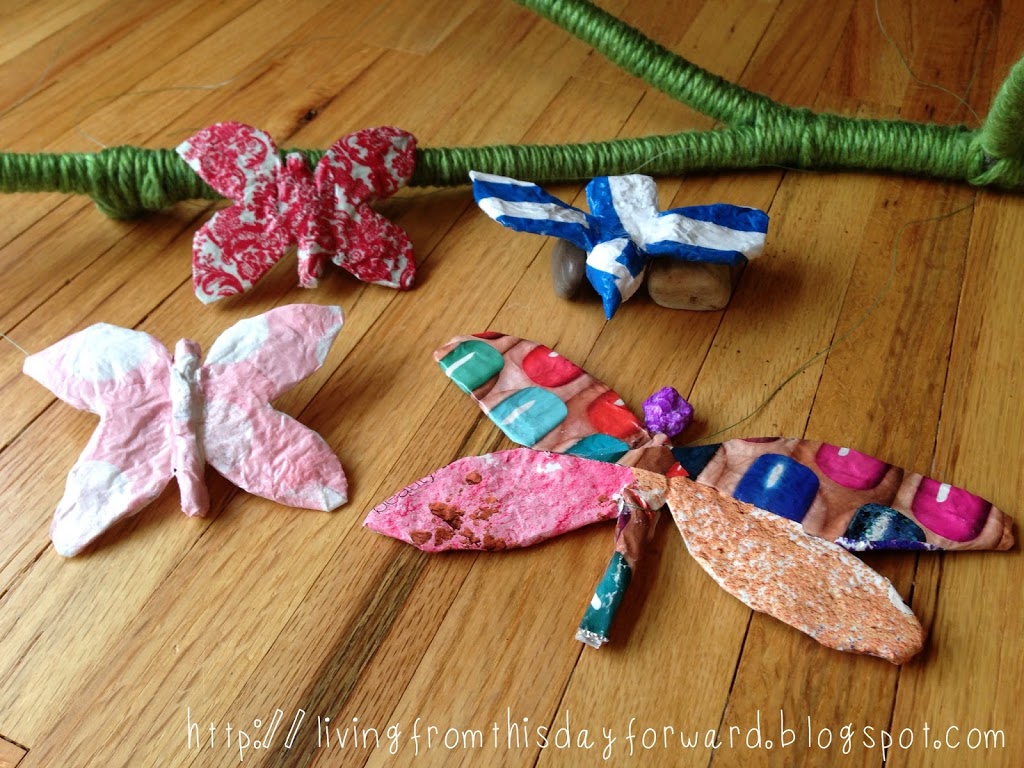
If crafting your own creatures isn’t your thing…head to the craft store, purchase pre-made butterflies and birdies, and tie those babies on. It’s all good!To Hang Mobile:
I tied a twine string near the center point of the branch, at two spots, for hanging. Little Lady already had a hook installed in the ceiling from the gauzy canopy that used to drape at the head of her crib. Please allow me a moment…sniff.You could use an Eye Hook for hanging as well. They are sturdy when installed correctly, but also removable.* Important note: please make sure your finished mobile is well out of reach of small children (far above), and securely fastened to avoid tangling or accident. This won’t support Tarzan.
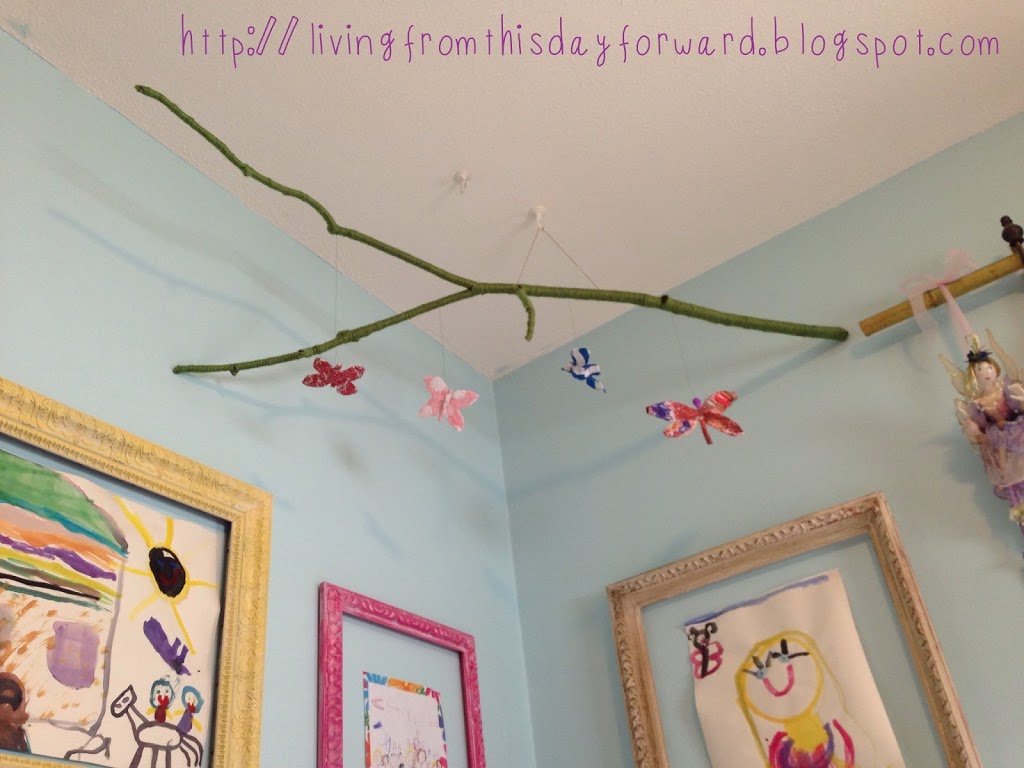
Lie on your back, gaze into the space above, and dream. Your imagination is your soul, your passion, speaking to you. Listen carefully. ~ Mama
What’s on your mind? Leave a comment or share a thought below – I love to connect.
Cheers!
J
*Feel free to share this post via networks below.


 To share this badge on your website copy/paste the code below:
dreams are what make life happen they made you . Keep up the wonderful blog, nanni