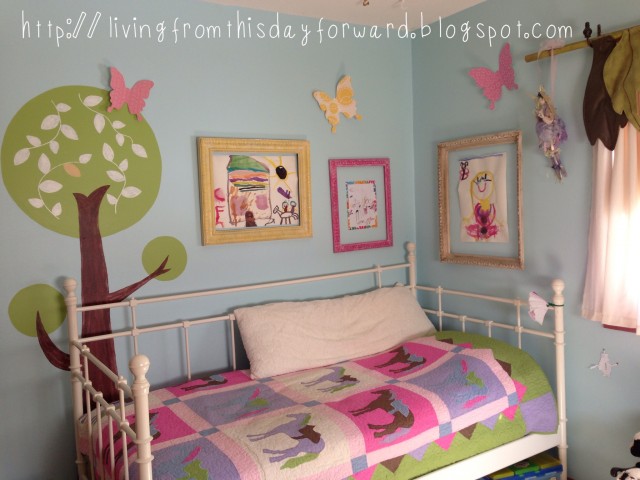
She needed a gallery of her very own, a place to surround herself with images that evoke happiness. Art isn’t something she does; it’s who she is. Her art is free from technique and warrants itself, needing not the justification or approval of others, but a simple nod from her blissful heart.
Her art was a window to her soul and a reflection of the dreamer that she is.
My little artiste dives into creation with wild abandon. She requires no guidance or prompting. Her inspiration comes from within. She passes by the art locker on the way to the breakfast table and it begins…a day full of sketching, painting, cutting, gluing, dreaming, constructing. She sees potential in every scrap she meets – and these ‘treasures’ make their way home in her pockets, already mentally assigned a role in her next project.
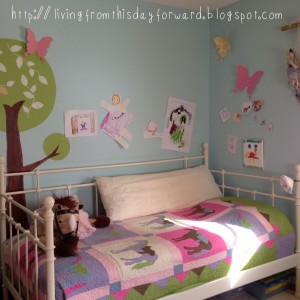
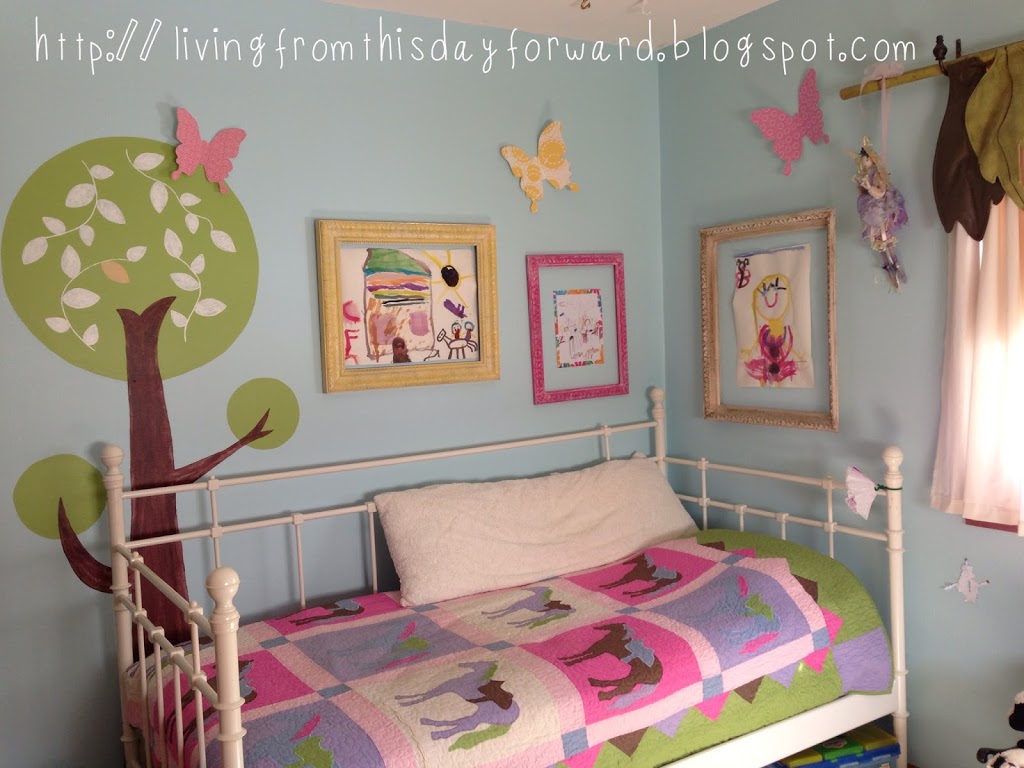
Here’s the hitch, when one creates with wild abandon…there is a LOT of output. Her precious creations, each one loved by her as much as the next, make their way to her bedroom walls. They are carefully hung with several (at least 6) long strips of tape – and occasionally glitter glue. I have adored her method of display for quite some time, but it was time for a change.
I’ll call this project… Happiness Gallery
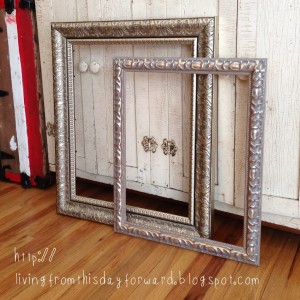
Growing up with a ‘thrifter’ or ‘junker’ of a mom (seriously, not an insult), I’m no stranger to seeking out deserted goods to repurpose. I was in search of frames to create an art gallery on her bedroom wall. I was looking for substantial frames with interesting detail and texture. Like the kind of frames that typically house engagement or wedding photos, for example. Coincidentally, I had two on hand. And in the spirit of making lemonade out of lemons, I began…
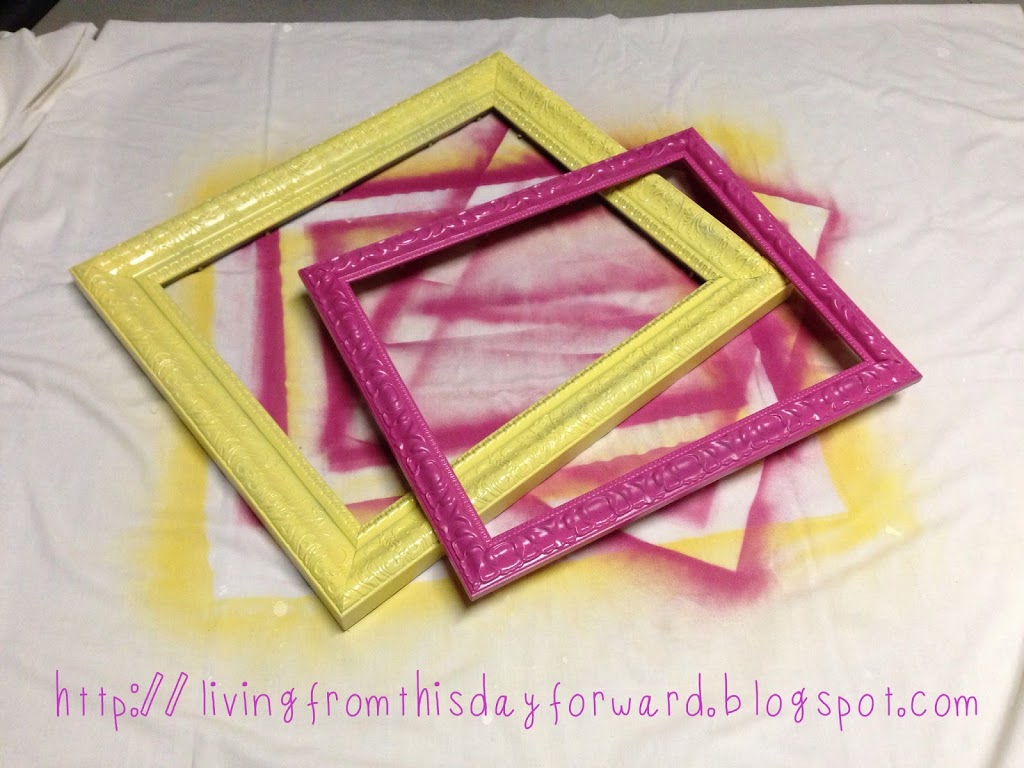
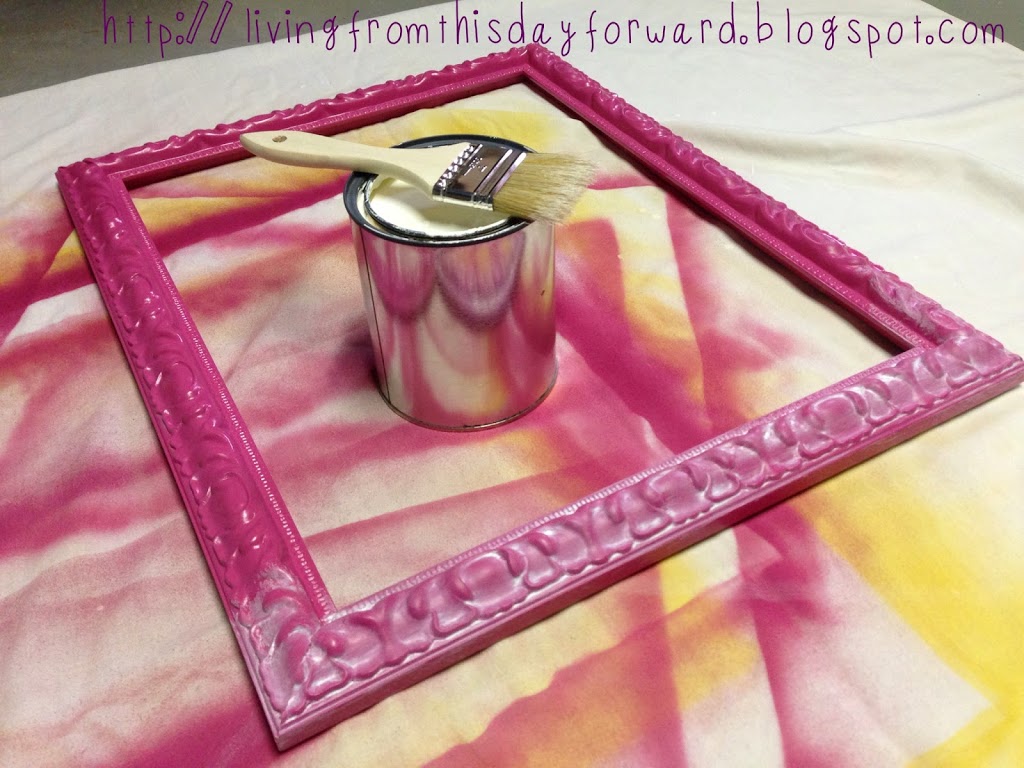
I chose cheery paint colors that coordinate with her bedroom decor. I spray primed the frames first to create a surface ideal for the paint to adhere to. I followed that with two light coats of colorful spray paint – butter yellow and poppy pink. Make sure to follow dry time instructions before moving on to the next step.
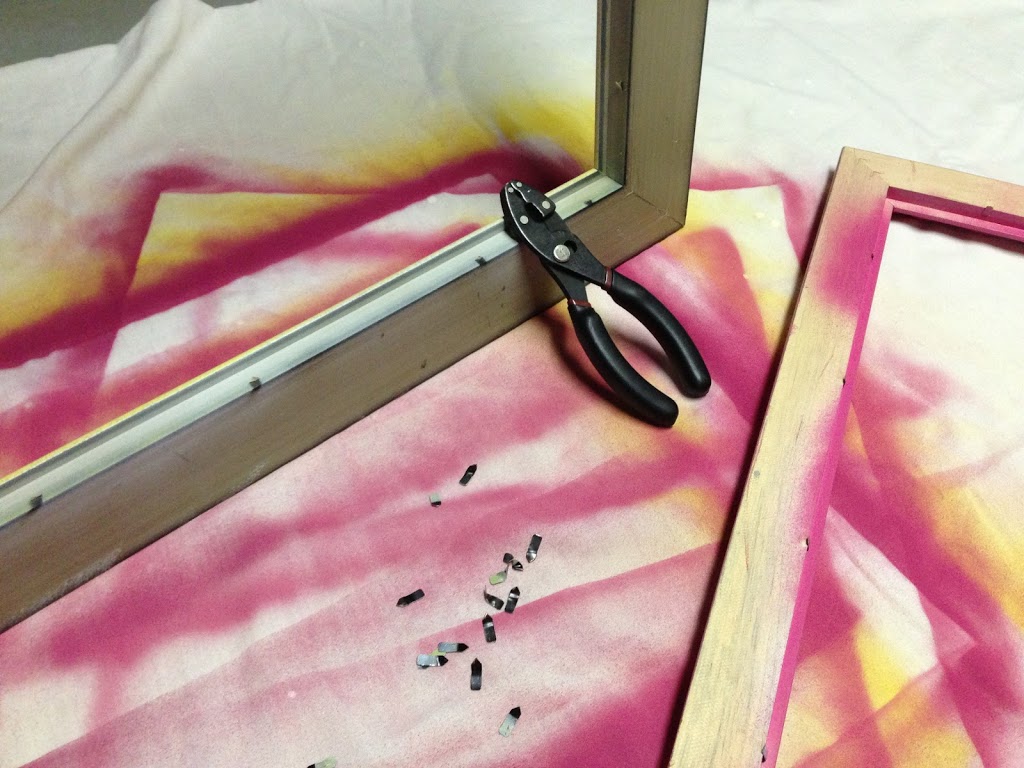
Note: if your frames are constructed with metal prongs for holding the glass in, they can easily be removed with a pliers to make them safe to work with. Gently twist back and forth while you pull them out and discard.
I prefer finishes with a hint of ‘age’, so I decided to add a wash of white over the top of the color. This is simply done by lightly brushing over the frame with a semi-gloss or gloss paint in the white hue of choice. Once you have brushed the paint over the surface of the frame, immediately follow up by rubbing most of the paint off with a non-lint rag, such as an old white t-shirt. The paint will collect in the nooks and crannies of the frame and add character and depth.
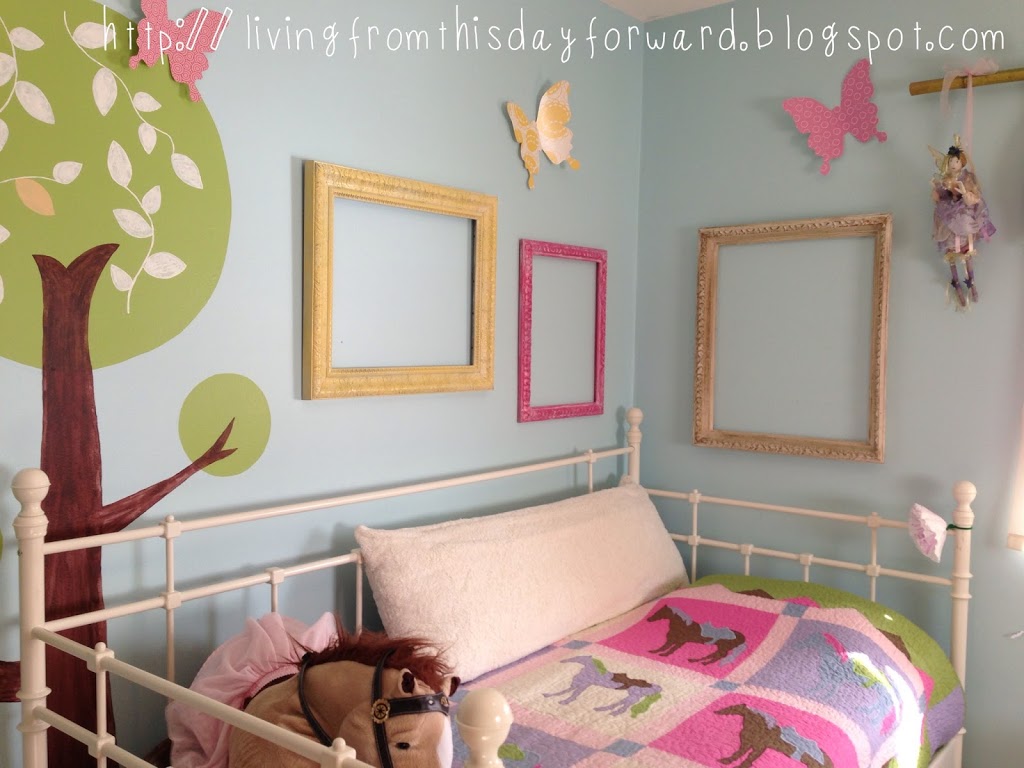
I carefully removed the little works of art from her walls, admiring each one with tears pooling in my eyes as I did. I’m putty when it comes to her creations – they literally squeeze my heart. I arranged the frames on the wall, adding in one antique frame that I’ve had displayed various other places in my home over the years. It’s best to find a stud to nail into, depending on the weight of your frame. There are many convenient hanging hardware options available in any hardware store. Make note of the weight of your frame beforehand so you can select a kit that suits your needs.
I worked on the frames late at night, after bedtime, in the basement (please use proper ventilation!) in order to keep the project a surprise. I scurried to hang the frames and clean her bedroom (no small feat on the cleaning part) one morning while she was at preschool, in anticipation of the big unveiling.
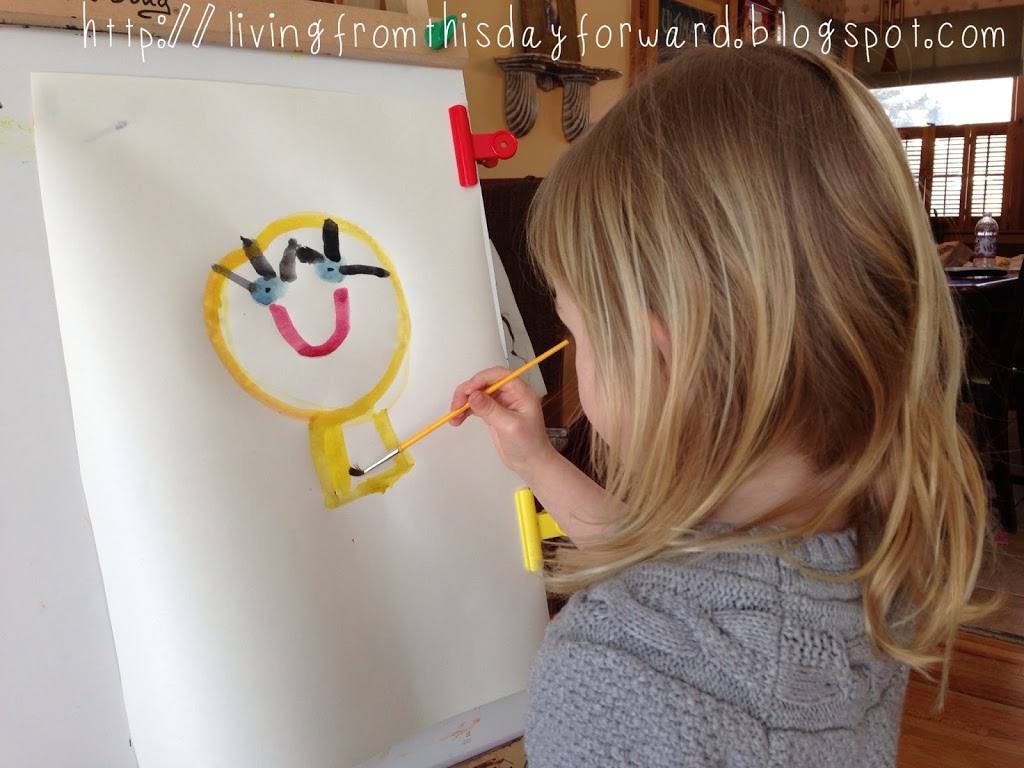
She walked in with her eyes pinched tightly closed. When she opened them a big smile slowly crept across her face. She climbed up on her bed, sat on the side rail, and squealed. She was thrilled and dove right into painting the very first masterpiece for her personal gallery…
“Art enables us to find ourselves and lose ourselves at the same time.” -Thomas Merton


 To share this badge on your website copy/paste the code below:
If you’ve never tried Command Picture Hanging Strips you should do so. They work great and cause no surface damage on your walls (if used properly – just follow directions). Then you can add more frames or move them around without worrying about filling, patching and painting nail holes! Room looks awesome!
Yep, Lisa, great option also!